Voice Over Recording Tips: How to Get the Best Sound Quality in a Studio
Introduction:
When you hear a voice over that appears high trustworthy, warm, and professional as well as having an excellent quality of sound, it is high possible that the quality of sound may have created the illusion of trust even before you listened to the actual words of the voice over. Well-produced audio can engage listeners and build up the credibility of the message, whereas poor produced audio can immediately engage or detract listeners from the content and break down the level of trust.
The guide laid out as a journey, and the new voice-over artist will begin their experience as if they are walking into a recording studio for the very first time. As the voice-over artist progresses through the steps along the journey of learning what to focus on to become successful, they can follow all the tips shared in this guide. The information is practical, simple, and effective; thus, it is applicable at all levels of the voice-over recording profession.
Why Sound Quality Matters in Voice Over Recording

In voice over, sound quality is an absolute necessity – it is not considered a luxury item. Good sound quality provides the basis for any successful voice over project, and this should be considere the number one takeaway for any aspiring voice talent.
How Professional Audio Shapes Listener Trust and Engagement
High quality voice over audio enhances the credibility of your brand, helps you build a connection with your audience, improves their retention of your message and has a positive emotional effect on them. It increases the likelihood of them converting into customers from a commercial (or educational piece) with fewer excuses for stopping their engagement.
In the case of commercials, audiobooks, explainer videos, e-learning etc., sound quality is almost always the deciding factor on whether a listener stays or leaves. It is the primary reason studios and clients expect us to record high quality audio in a controlled environment consistent.
Choose the Right Recording Space & Control Acoustic Problems
The choice of the recording space is more important than the recording gear when you’re doing voice-over work. One of the biggest mistakes that many new voice-over artists make is waiting until they want to start recording to decide on their recording space.
Picking the Spot to Record, Hu’s Making Your Room Soundproofed, And Constructing Your Room to be Acoustic Controlled
When building a recording room, you want to keep these points in mind: you want your recording space to be,
- Quiet (away from traffic, fans,Ac,etc)
- Small to medium-sized room
- Filled with softer materials
Hard walls create echo. Empty rooms exaggerate reflections. Soft furnishings absorb unwanted sound. For studio voice over recording tips, start with these steps:
- Record in a room with curtains, carpets, or sofas
- Use acoustic foam or DIY panels
- Seal door gaps with towels or draft blockers
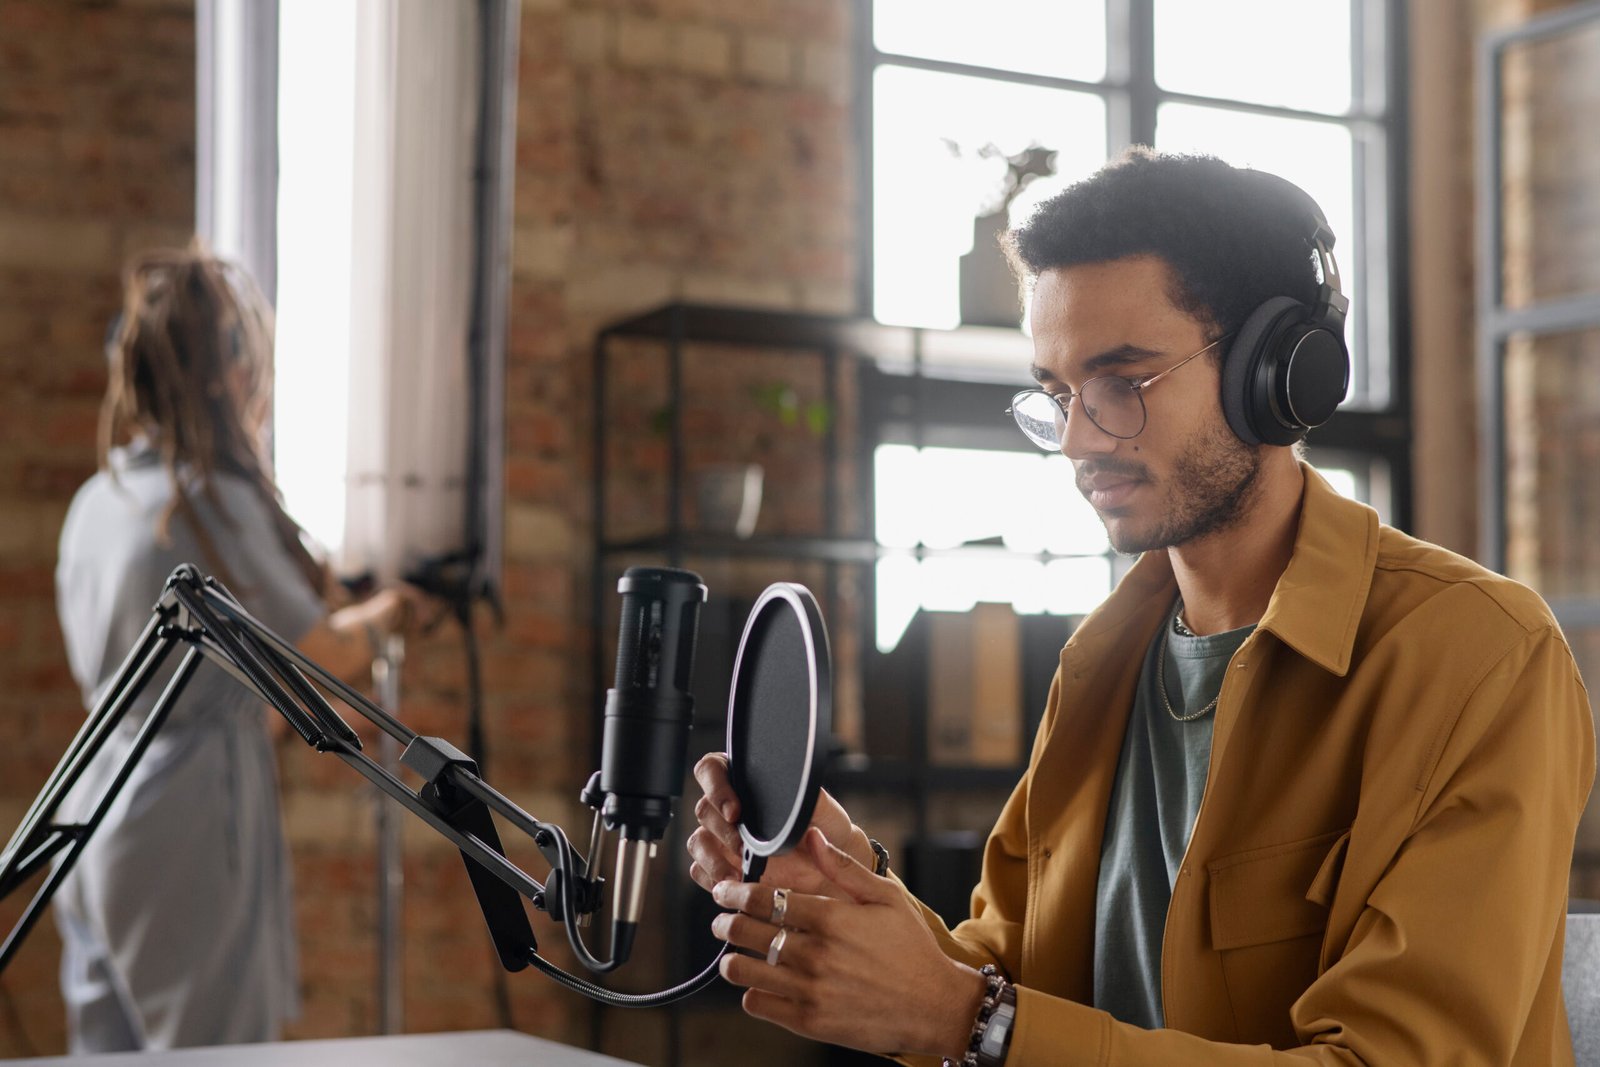
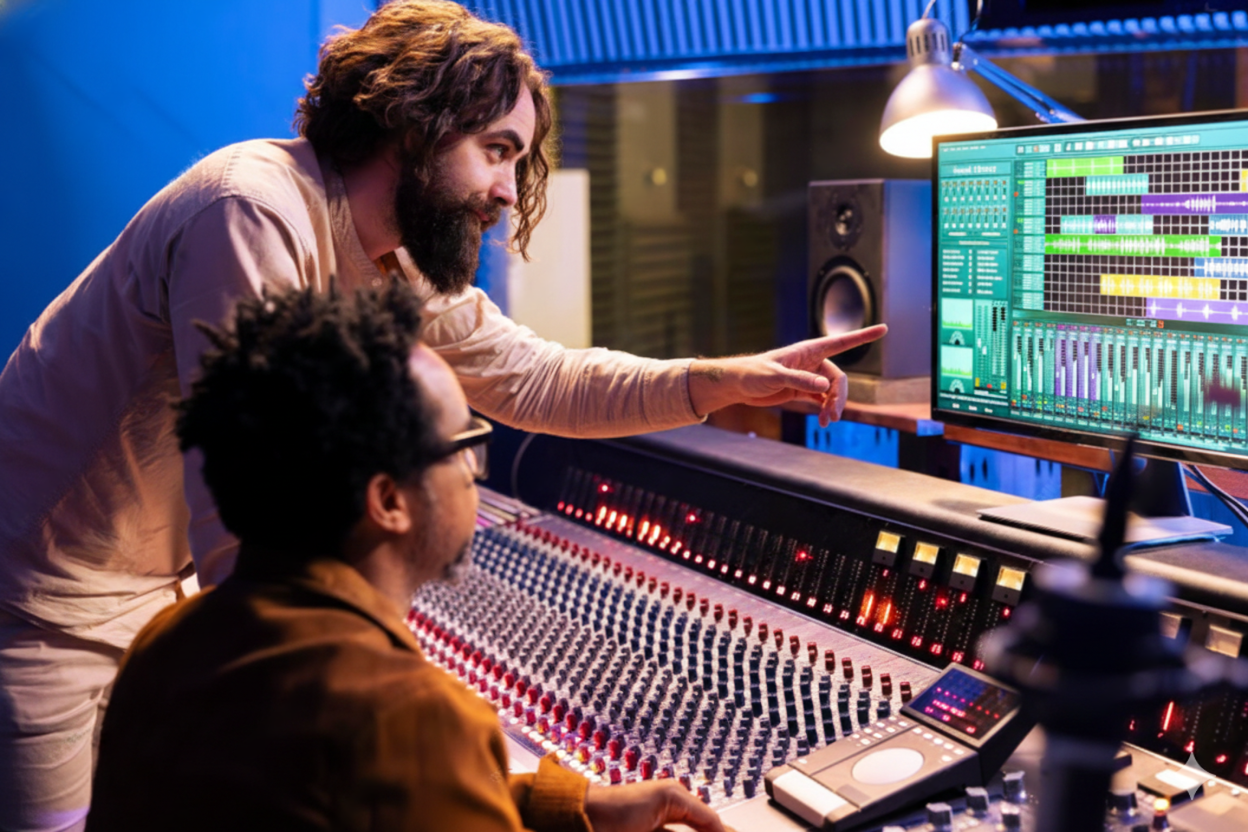
Essential Equipment for Studio Voice Over
Talking about finding quality voice over recording gear is only the first step once you have established the location for recording your voiceovers. The quality of your recorded voice will rely heavy on the quality of the equipment you choose to use. Thus, it should be your primary goal to get top-quality gear, but much it may cost.
The following equipment is essential for voice over recording in a professional studio setting,
- high-quality microphone
- An audio interface
- Closed back headphones
- A pop filter
- A microphone stand with shock mount
Condenser microphones are the most common type of microphone for voice over recording because they are great at capturing detail and warmth, but in order for them to work proper they must be use in a sound-treated environment.
Audio interfaces convert the analog signal from a microphone to a digital signal. They also provide the proper amount of gain needed for microphones. Low-quality interfaces introduce noise and distortion to the recording.
Closed back headphones are great for listening for clicks, breaths, or anything else that may interfere while recording voiceovers. They also allow you to check your recording while you are recording.
Microphone Placement & Technique for Clear Recordings
Even the best microphone can sound bad if placed incorrect. Correct positioning is one of the most powerful voice over recording tips.
Distance, Angles, and Pop Filter Positioning
Follow these studio voice recording tips:
- Keep the mic 6–8 inches from your mouth
- Angle the mic slight off‑axis
- Place a pop filter 2–3 inches in front
Angling reduces plosives like “P” and “B.” Distance controls bass buildup and clarity. Consistent placement ensures consistent sound.
Good mic technique direct improves voice over Recording sound quality and reduces editing time.
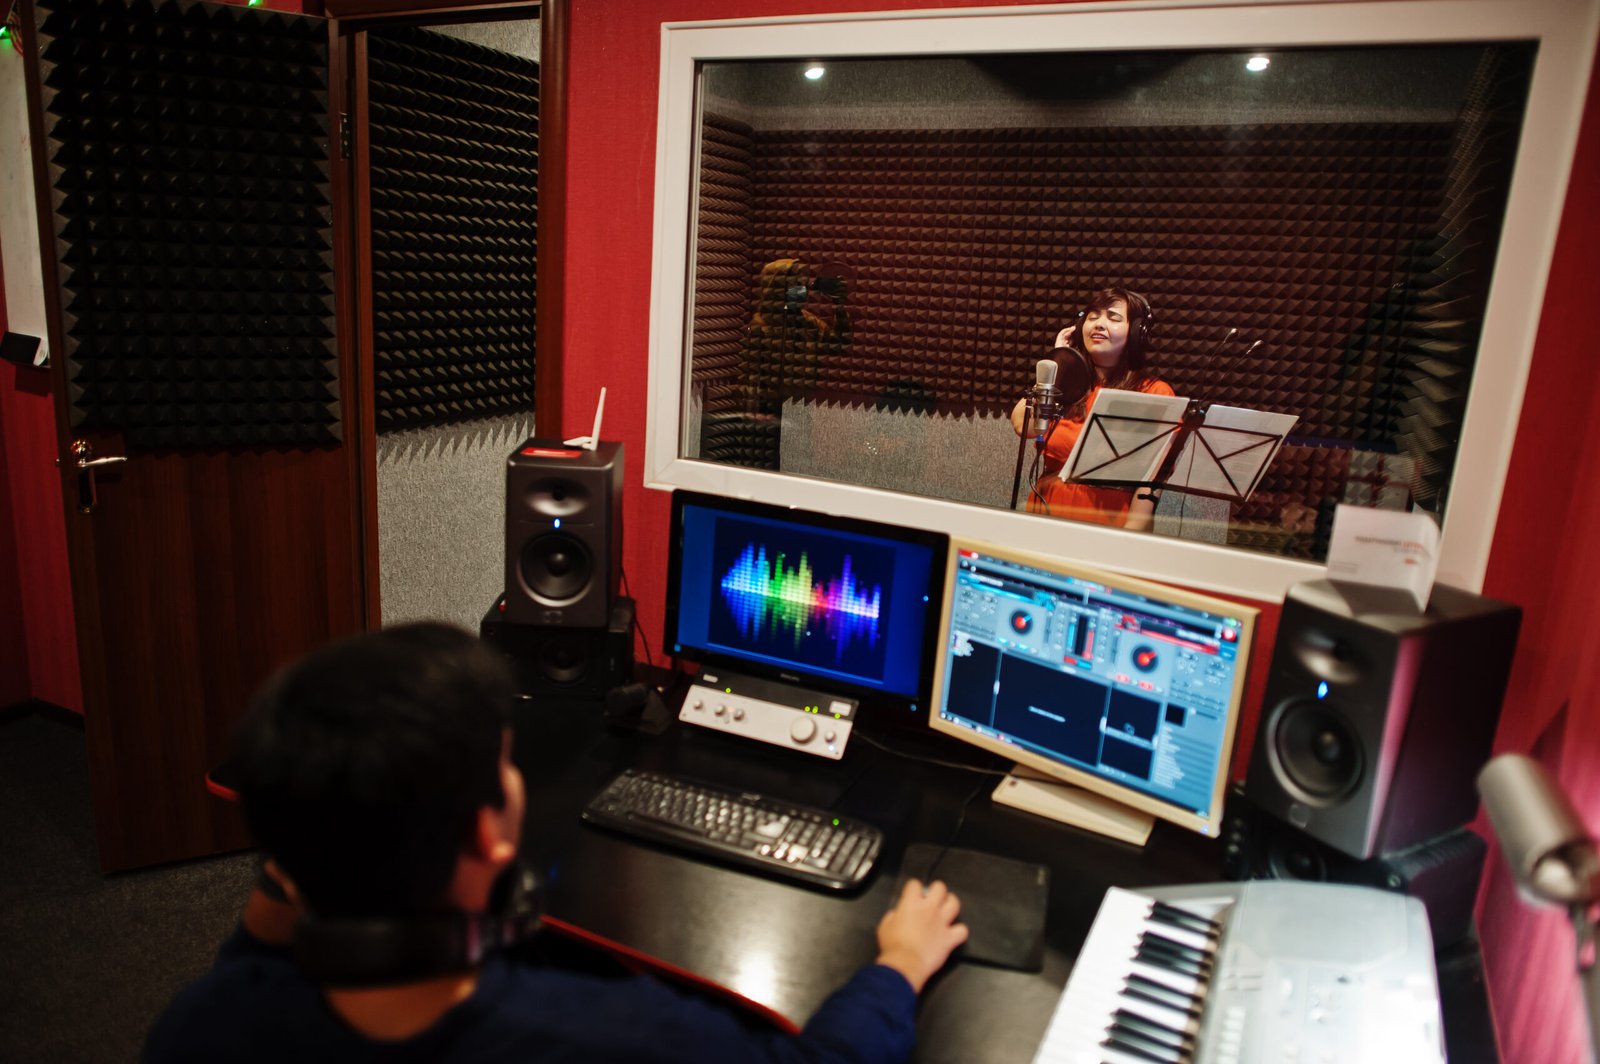
Setting Up Your Recording Session: Levels, Monitoring & Noise Control
You can significant reduce future editing time when creating a voiceover by doing some essential steps before hitting the record button. Most of the professional tips are relate to how to prepare the “SESSION SETUP” (the way you organize your environment and equipment). The earlier you prepare your voiceover session means that the audio signal will be cleaner and clear, without excessive background noise.
Check Your Audio
One of the most important processes when recording a voiceover is setting your input levels. Make sure that the gain on your microphone is set correct so that the loudest words you speak hit between -12 dB to -6 dB peaks. This will give you a strong, clear recorded audio signal without distortion. Do not let your microphone output to be 0 dB; this creates a technic known as “clipping”, and there is no practical fix for it later.
It’s high recommended to always use closed-back headphones while recording. It is a good idea to check your recordings as you go so that you can catch problems before you finish. As you listen to your audio, pay close attention for:
- Room noise.
- Mouth clicks or lip smacker noises
- Heavy breathing or pop noises
- The echo from the room or hollow sounds.
Cut any unwanted sound! Immediately shut down and cut the sound making device; phones, fans, air conditioning units, computer alerts, and any other sound-producing devices should ALL be OFF. Unwanted “background noise” during audio editing can be startling; even the tiniest amount of noise can be magnifes during the editing process. Silence is also a necessary component of any voice-over recording professional technique.
To reduce background noise, record from a quiet location and use sound-reducing or sound-absorbing items such as curtains and/or foam panels to create an acoustic environment to enhance vocal quality. Ensure the microphone is position at a consistent distance from the mouth; maintaining consistent distance provides a uniform sound level in your recording.
Vocal Preparation & Warm‑Ups for Better Delivery
Your voice is the instrument. Taking care of your voice is one of the most important recommendations for a human voice-over recording. This includes breathing, speaking style, and warm-up techniques.
Before Recording:
- Practice Deep Breathing
- Extend your neck and jaw.
- Practice Tongue Twisters.
Script Techniques: Pacing, Clarity & Expression
A great script deserves a great read. Effective voice over recording tips connect technique with storytelling.
Reading With Confidence and Emotion
Read conversational, not mechanical. Use pauses. Highlight important terms. When the script asks for warmth, smile. These methods for recording voiceovers give performers a convincing and captivating quality.
Best Practices for Recording: Performance & Consistency
Discipline leads to professional outcomes. Consistency is the key to the best voice-over recording advice.
Posture, Breath Control, and Many Takes
Stand or sit upright. Keep the microphone at the same distance. Take many shots, then mark the best ones. Professional voice over recording results are enhance by consistency.
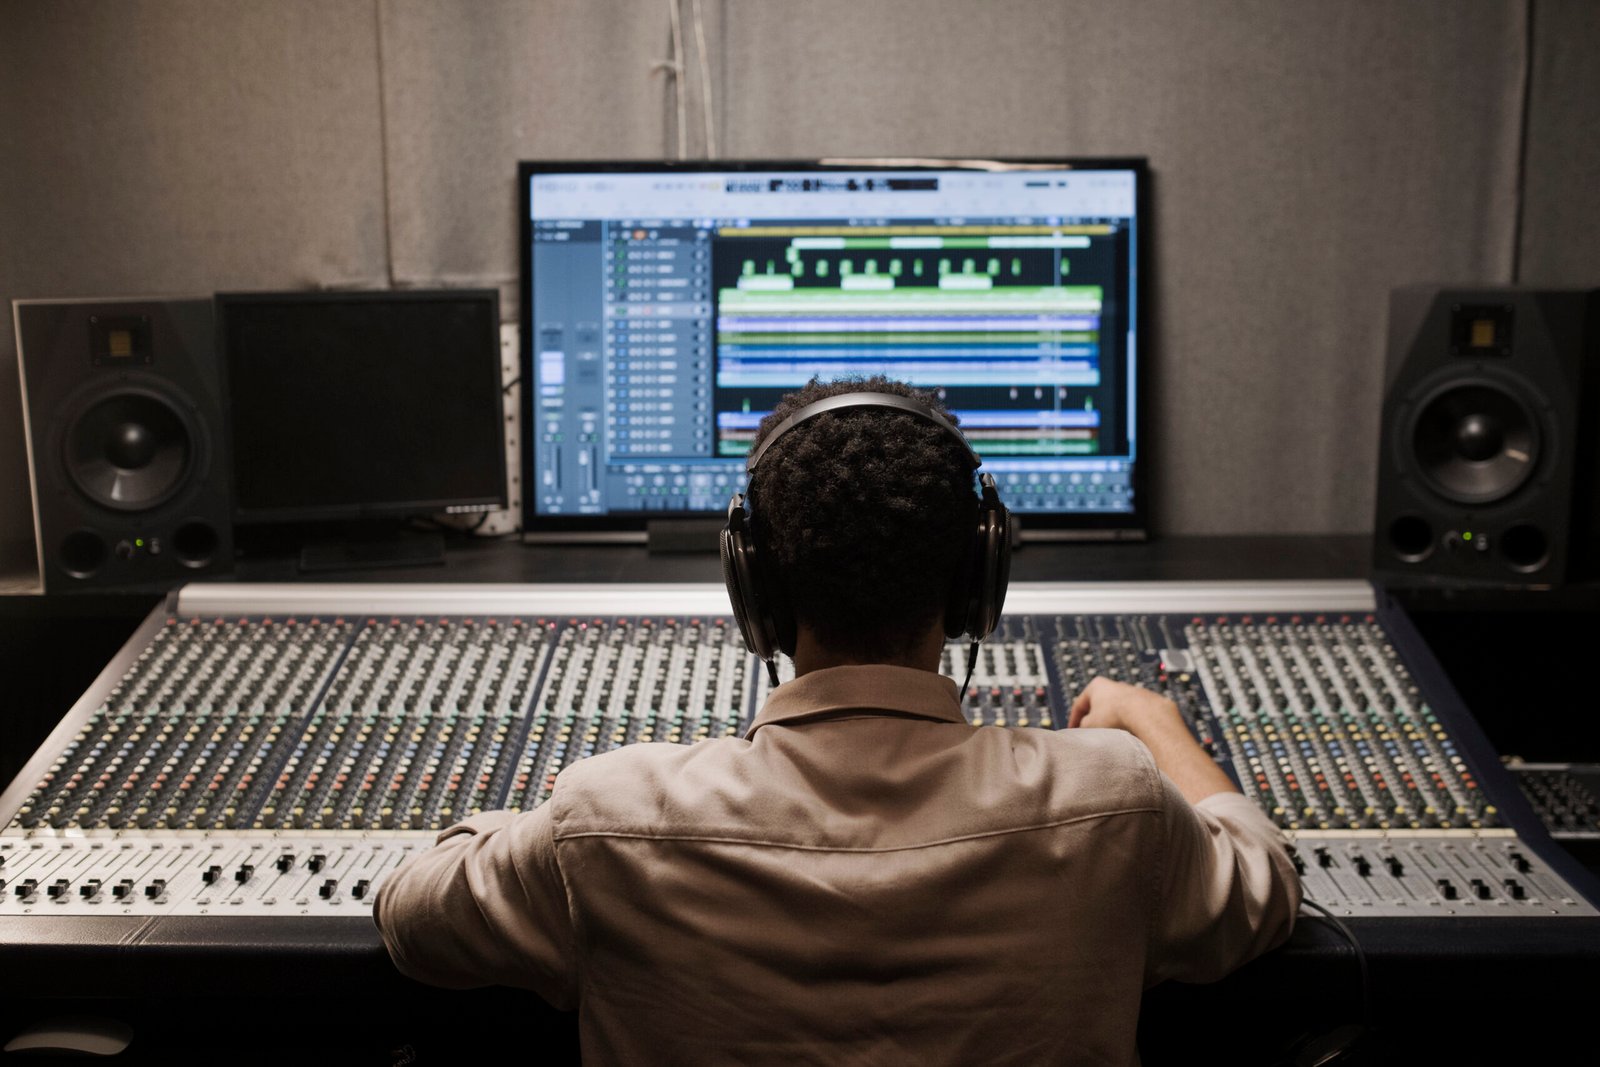
Editing & Post‑Production: Cleaning Up Your Audio
Recording is only half the job. Editing polishes your work. These voice over recording tips save time and improve clarity.
Compression, EQ, and Noise Elimination
To get rid of low rumble, use EQ. Even dynamics are compress. Reducing noise should be subtle.Over‑processing damages voice over sound quality.
Export in high‑quality formats for final delivery. This step protects audio quality for voice over projects.
Troubleshooting Common Recording Issues
Problems happen, even in studios. Smart voice over recording tips include quick fixes.
- Fixing Echo, Noise, Plosives, and Clipping
- Echo: Add soft materials
- Noise: Lower gain, improve room isolation
- Plosives: Adjust mic angle
- Sibilance: Use de‑esser
Every issue has a solution when you understand how to record voice over in a studio correct.
Conclusion:
Turn Voice Over Recording Tips Into Real Results
Achieving great sound through voiceovers isn’t some magical process; it’s about following clear steps, building consistent habits, and making smart choices as a professional in this industry. We created these voice-over recording tips to help you gain confidence, increase the quality of your recordings, and create professional-sounding audio content.
To effective capture quality audio while creating voiceovers, you’ll want to use these methods that we’ve outlined in this article. If you’re interested in producing your own recordings without having to work with a third-party company, we recommend that you visit PickMyVoice, an expert in providing voiceover solutions.
Frequently Asked Questions
What are the most important voice over recording tips for beginners?
Focus on room treatment, mic placement, and clean recording levels.
What is the best mic for voice over recording in a studio?
A quality condenser microphone with a pop filter is ideal for studio work.
How can I improve voice over sound quality without expensive gear?
Improve your recording space and technique first. These voice over recording tips matter more than gear.
How do I achieve clean voice recording in studio environments?
Control noise, monitor levels, and use proper mic techniques.
Why is audio quality for voice over so important?
Because listeners judge professionalism within seconds based on sound alone.
You may also look like
1. Audio Compression Explained: How It Improves Streaming Quality
2. Professional Recording Studio Services_ Everything Artists Need to Know